Getting connection details for your ShopSite store
Login to your
shopsite admin area.
Click on
Preferences and then Hosting Service.
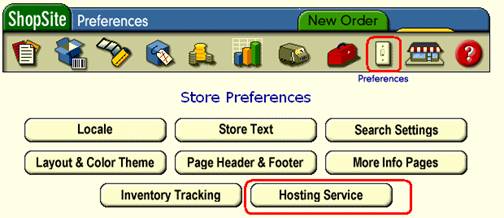
Figure 1
Note the version
number 1 under product settings.
Note the XML Orders
Download URL2.
Enter 1 and 2 in Connection details in Figure 1
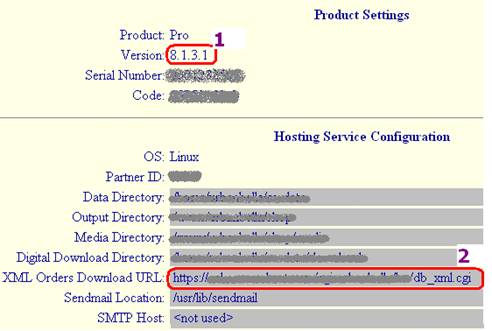
Figure 2
Settings
for adding ShopSite store in T-HUB
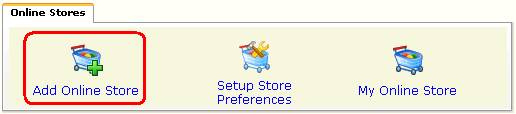
- Open
T-HUB
- Click
on the “Add Online Store” icon under Online Stores tab.
- Select
ShopSite as Store type (shopping cart) list.
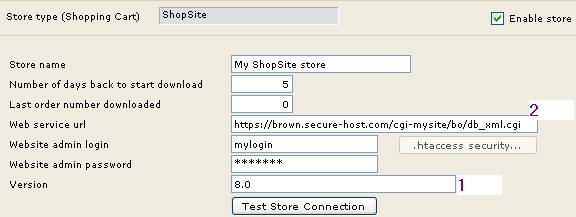
- Enter the web service url exactly
as it appears as “XML Orders download url” in Figure 2 above
- Enter your admin login and password.
- Enter version number. Note that
this should be numeric like 8.0, 9.0, 10.0 etc.
- Click on Test Store Connection.
If all the parameters are correct you should see a message like store
successfully connected.
- Click Save & Close to close the add
online store form.