Server
Configuration
Download the Pinnacle
Cart server files from
www.atandra.com/downloads/thub_pinnaclecart_server_files_1_2.zip
Unzip the contents
of the zip file to a local temp directory (C:\temp\thubservice)
Verify that you got
the following three files in the temp\thubservice directory
·
plugin.thubservice.php
·
init.php
·
thubtest.html
1. Copying
files to your website
It is recommended
to use some ftp client to copy the files below to your web server. If you are not sure
about how to do this, please contact your webmaster or Atandra for setup
service.
- Create a folder named thubservice on your admin/plugins
folder on the server
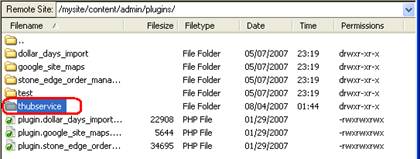
Figure: 1
- Copy the following three files to your
admin/plugins/thubservice folder on the server.
- plugin.thubservice.php
- init.php
- thubtest.html
2. Configuring
the thubservice on the website
- Login to the admin section of your
Pinnacle Cart website.
- Click on menu Marketing -> Cart
Plug-ins
- Click on “Data Export” from list of
plug-ins
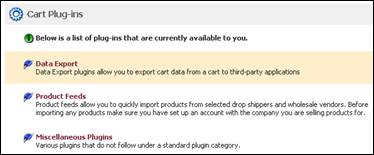
Figure: 2
- Click on Atandra T-HUB Service
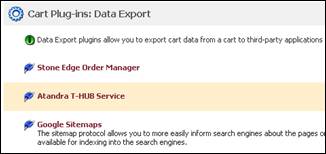
Figure: 3
- Select Yes from « Enable T-HUB
Service?” Drop down. Enter a UserName and Password you would like to use
for this service.
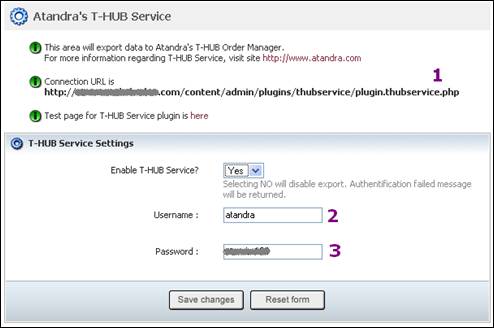
Figure: 4
- Note down the Connection Url, UserName
and Password [Marked as 1,2,3 in the picture above]. You have to enter these
EXACTLY in T-HUB client application.
- Click on Save Changes
Settings
in T-HUB
- Open T-HUB
- Click on the “Add Online Store”
icon under Online Stores tab.
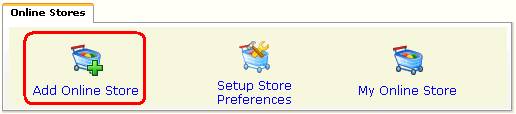
- Select Pinnacle Cart as Store
type (shopping cart) list.
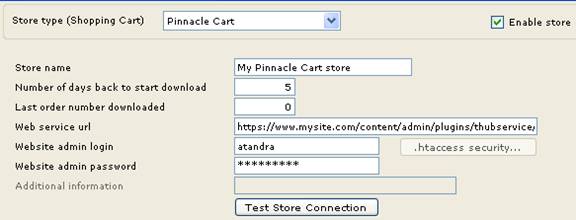
- Enter the number of days back to start
order download from. This is with respect to current date. If you enter 5,
the system will download orders placed 5 days ago until the latest order.
- Enter your website admin url for Thub
script. Note the url is case-sensitive, please verify the name of the
script is entered as thubservice.php with proper upper and lower case. This
url must start with http:// or https://
as shown below (See figure 4 above) https://www.mysite.com/content/admin/plugins/thubservice/plugin.thubservice.php
- Enter your website admin account
login, password. See figure 4 above where you set this login/password.
- Click on Test Store Connection. If all
the parameters are correct you should see a message like store
successfully connected.
- Click Save & Close to close the add
online store form.