Quick Start Guide for T-HUB working with UPS Online
Overview of T-HUB and supported functionality for UPS Online Shipping
T-HUB is a desktop application to help Ecommerce retailers print packing list, shipping labels with UPS Online and also integrate with QuickBooks. With respect to integration with UPS Online, the application will support the following features
1. UPS Online shipping feature is ONLY for US Origin shippers. T-HUB is not targeted for non-US shippers.
2. Support for UPS domestic and international shipping
3. Address validation
4. VOID shipments
5. View Tracking details
Minimum System Requirements
· Windows XP sp2, Windows Vista, Windows 7, Windows Server (2003/2008)
· 2 GB Ram
· 150 MB diskspace
· Printer (laserjet or Zebra LP 2844 Thermal printer)
· Direct Internet access
Download and install T-HUB
1. Please make sure your have administrative rights on the computer to install new applications
2. Download T-HUB application installer from link below to your computer. Save this file to your desktop first instead of selecting to run from browser www.atandra.com/downloads/ThubInstaller.exe
3. Double click the downloaded file ThubInstaller.exe to start installation of T-HUB application.
4. After installation is complete, click on Start > Programs > T-HUB > T-HUB
5. You will be prompted to select the T-HUB Database. If this is your first time installation then select the option to create new database
6. New SQL Server Database installation will take a few minutes depending on your computer settings. If you encounter errors in database installation – please check this link for most common issue http://www.support.atandra.com/index.php?_m=knowledgebase&_a=viewarticle&kbarticleid=81
7. Enter T-HUB database login information. Click on the server name drop down to select default login information.
8. Enter your license key P1129CZQ72HQT2BB when prompted and click OK
9. This completes the application installation.
Set the Application mode
The UPS Online integration is currently under development and certification. To access and use these features, you have to specifically set the Application mode in the application.
1. Open T-HUB application
2. Click on the Production Application Mode as shown at the footer of the application
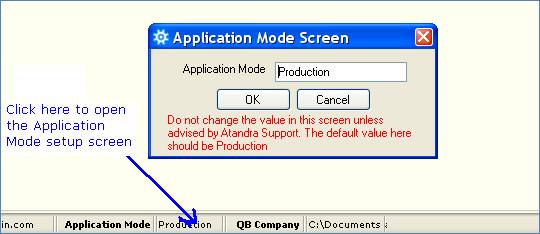
3. Change the application mode to UPSO-Development and click OK as shown below
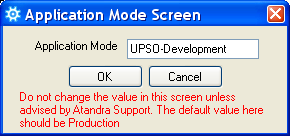
4. Note that the application mode will change at the bottom of the screen as shown below
![]()
Connecting T-HUB with Online store
We HAVE setup a demo online store for this test. Please follow these steps to configure in T-HUB.
- Open T-HUB
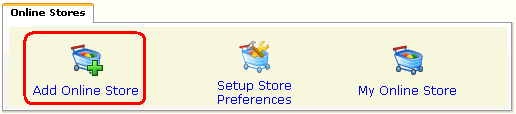
- Click on the “Add Online Store” icon under Online Stores tab.
- Select BigCommerce as Store type (shopping cart) list.
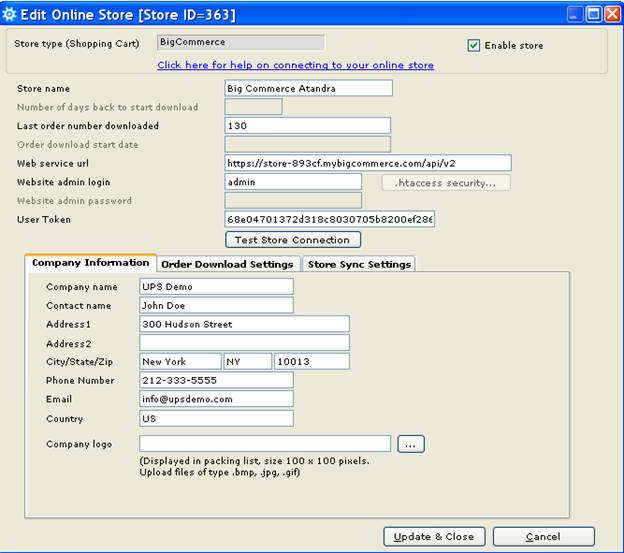
- Enter last order number as the order number from which to start download. For this demo enter number 130
- Enter the url as https://store-893cf.mybigcommerce.com/api/v2
- Enter login as: admin
- Enter user Token as : 68e04701372d318c8030705b8200ef28679f8993
- Enter Company information below, this is used as ship from address for printing shipping labels
- Click on Test Store Connection. If all the parameters are correct you should see a message like store successfully connected.
- Click Save & Close to close the add online store form.
Configure UPS Online shipping in T-HUB
Enable UPS Online shipping
1. Click on Setup Store Preferences
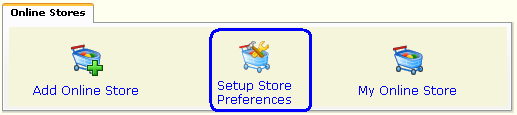
2. Select Shipping and then check the check box to Enable shipping with UPS Online
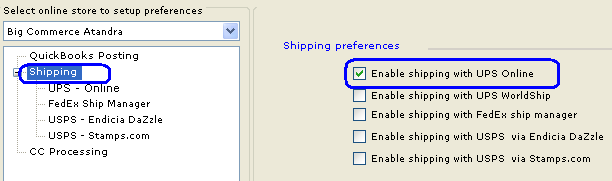
3. Click on Save
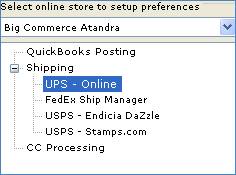
Set UPS Online Account and Defaults
1. Click on Shipping > UPS – Online as shown below
2. Click on UPS Account button and Click on Add to add the UPS account to the system.
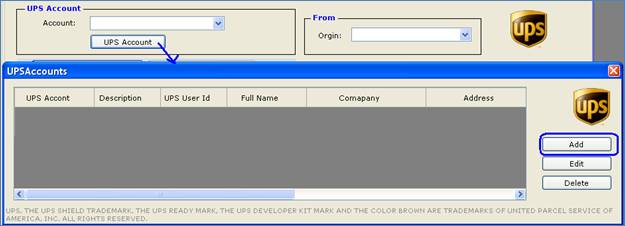
3. You will be prompted to register your UPS Account, Accept the license agreement and follow default steps, use account number 25137R for test account registration.
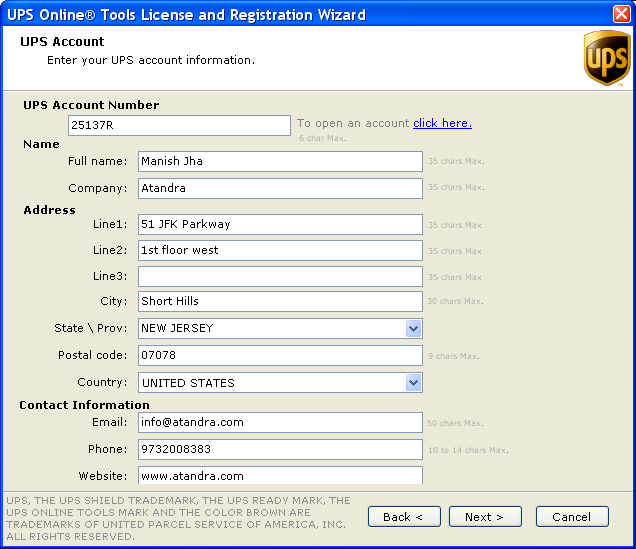
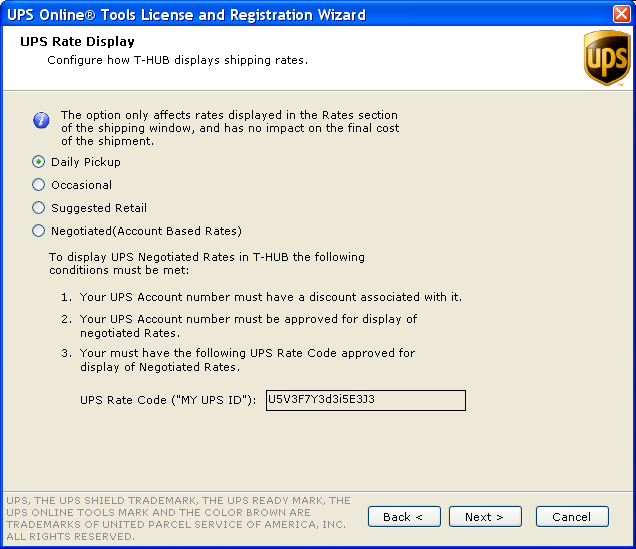

4. Click Finish when registration completed.
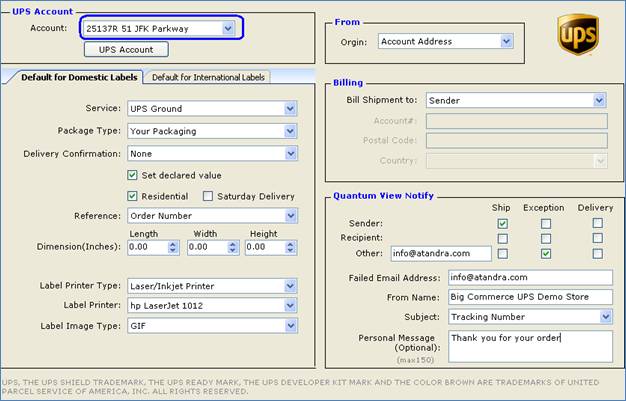
5. Select the Account setup from the drop down.
6. Enter other shipping defaults and Domestic shipment specific defaults as shown below
7. Enter defaults for International shipping labels as shown below
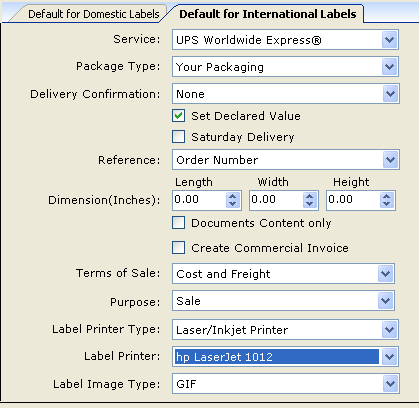
8. Click on Save to save all the settings
Shipping orders with UPS Online
1. Open the process Orders screen in T-HUB
2. Click on the Download orders icon to download orders from website into T-HUB. To create new orders on the demo store visit http://atandra.mybigcommerce.com/ use payment by check option to create new test orders.
![]()
3. Select an order and click on the UPS icon to initiate the shipping process. This is a simple three step process ash shown in this screencast http://screencast.com/t/S1vAuOQpho7e
a. Verify shipping address, weight, dimension details
b. Click on GetRates and select a rate you want to Use
c. Click on the Generate Label button to get label from UPS and click Yes to Print the shipping label

4. Once the label is generated, the shipping status is changed to Shipped (Yellow) in T-HUB.

5. Double-Click on the order number to view Order details and the Tracking information.
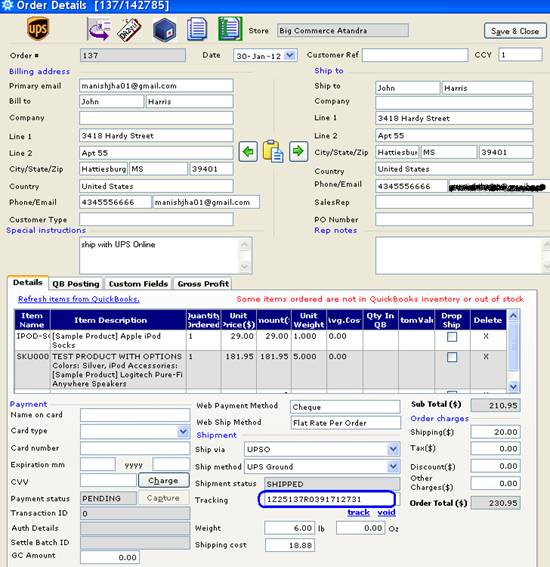
6. You can change the Tracking number above with specific tracking numbers for testing and click on Track or Void links to track shipment or void shipment